


Look we get it: Some exercises just aren’t sexy or showy—but neither are knee braces, slings, tweaked lower backs, or bad moods you develop because your joints are shot from working out.
The solution? Integrate these 20 exercises into your routine (yes, that means regularly) so you can protect your joints and lift to see another day. Think of them as armor plating for your vulnerable joints and smaller muscles—it’ll make you stronger, more powerful, and capable of coming back for more. They’ll help you work up to more explosive plyometric exercises you might shy away from because of pain-causing weaknesses and imbalances—like jump squats and lateral skaters (shown above).
20 Exercises to Bulletproof Your Joints and Prevent Injury
1. Lateral Band Walk
Why you should do it: The lateral band walk is every trainer’s favorite move for strengthening the hip joints, and for for good reason: It specifically targets the abductor muscles, which control how the hips turn out. Strong abductors keep the knees—which are only supposed to bend in one direction—in good alignment, protecting them from caving in or flaring on your squats and lunges and when you run or bike, or really in any activity in which they have to bend. Strong hips can also protect knees from taking a bad torque sideways during, say, a basketball or soccer game, which can strain or even tear the tendons (ask anyone who’s had an ACL injury).
How to do a lateral band walk: At the end of your warmup, get a mini-band of at least medium tension and wrap it around both legs, just above the knees (or make it harder by taking a second band of lighter tension around the calves, too). Sit back into a quarter squat and take sideways steps in one direction, keeping toes forward and not letting the legs fully come together. You can do sets of 10 to one direction, then switch, for three sets, or try a ladder, starting from 7 and work your way down to 1—this scheme forces you make each rep “count” more.
2. Single-Leg Glute Bridge/Hip Thruster
Why you should do it: Most of us are lazy asses. No, really: Because everyone sits all day, our butt muscles have turned off, and our lower backs have gone soft and bowed forward. Bridges and thrusters activate the posterior chain (back muscles), while also training the hip and knee joints to track safely straight ahead.
How to do a single-leg glute bridge: Start on your back on a mat, arms down along your sides. Bend one knee and plant your foot as close to your butt as you can, about two fist-widths apart. Straighten your other leg. Press firmly into your foot and deliberately clench your butt muscles to press your hips to the sky; your knees, hips, and shoulders will form a plane at the top. Hold for up to five beats before lowering and repeating; do three sets of 10. Elevating your shoulders on a bench gets you a greater range of motion to lower and raise the hips and a bit more back work; adding weight with dumbbells on the hip creases kicks it up even more. Both bridges and thrusters are a great warmup exercise for your heavy squat or deadlift day.
3. Reverse Hypers (Back Extension)
Why you should do it: Another boon to the back and butt, these are pure glute extension, essential for getting lazy glute muscles all fired up, relieving pressure off aching back muscles and joints. (Note: If you have a back injury, this can aggravate it, so use your discretion.)
How to do reverse hypers: Lie facedown the long way on a bench or Swiss ball, with your upper body supported, so your hip crease is aligned along the bench or ball’s edge. Flex your toes and firm your legs, squeezing your butt to raise them together as a unit so they’re in line with your torso. If using a bench, hold on if you must, but lightly, with your arms under the bench. If using a Swiss ball, plant forearms on the ground. Squeeze and hold for up to 5 seconds, then lower legs without letting your feet come fully to the floor. Do 10 reps with both legs, then hover both off the ground and lower and raise a leg individually for 10 more reps each (keeping the non-moving leg firmly extended).
4. Forearm Plank
Why you should do it: The old standby, front and side forearm planks are great for encouraging core integration, which is essential for bolstering the joints in your back, and basically every move you make (ironic that you do them by holding pretty still, eh?). However, you should make sure you’re doing them right. A lot of people aren’t.
How to do a forearm plank: Place your forearms on the floor so elbows are right under shoulder joints. Extend one leg straight back, kickstanding the foot, and send the other leg to meet it. Now: Looking at a point between your hands, press your arms firmly into the floor so your shoulders engage, and squeeze your butt. No, really, squeeze like there’s a $100 bill between your cheeks and you don’t want anyone to steal it. This makes the glutes, the heaviest muscle in the body, actually do something to support their weight. You should do the same in a side plank, too, though the trick there is to pop up so your shoulder-over-elbow alignment is solid; when you’re on your side, elbow bent under you, bend your knees slightly before you come up onto the blade of your foot—when you straighten your legs as you come up, your shoulder will naturally shift right over your elbow. Press your planted arm down to lift your shoulders and, yep, squeeze your glutes. Do ‘em at the beginning or the end of your core circuit, holding for no more than a minute at a stretch.
5. Bulgarian Split Squat
Why you should do it: There are so many good things going on in this move, which is basically a supported single-leg squat. First, working unilaterally (one side at a time) can help correct strength imbalances, which you may not even realize you have when you’re doing bilateral work, like back squats and deadlifts. By raising and supporting the rear foot, you can encourage full to-90-degree range of motion in the front leg. Best of all, it’s a balance challenge without being insanely hard (like single-leg “pistol” squats), yet strengthens your hip stabilizers so you can work up to those one day.
How to do a Bulgarian split squat: Before you add weight, get the mechanics down (and up). Stand in front of a bench, about one stride length away. Rest the toes of your back foot on the bench. Square your hips and angle your torso slightly forward from the hips so your weight is in your front foot. Bend both legs, focusing on the front one so its knee comes to 90 degrees (don’t lean forward; knee and ankle joints should align). Your torso should lower vertically, rather than lean forward. Press into your front foot, weight in the heel, to come back to stand. Do a few unweighted reps to get the full range of motion, then add weight; either goblet-style (shown above) or with dumbbells down by your sides. These are a great complement in a superset with heavy squats or even as a warmup to them.
6. Single-Leg Deadlift
Why you should do it: This skill-focused move targets the hamstrings and glutes on one side at a time, plus challenges your balance, which we all lose as we get older. Mix up how you hold a load and you can add some additional core work into the mix. It also strengthens the stabilizers around your knees, which takes pressure off the joints.
How to do a single-leg deadlift: Even without a dumbbell in your hand, the “SLDL” takes a bit to master. Start standing with feet hip-width, and shift your weight into one foot. Rather than thinking about sending your free leg back, focus on sending the butt back by hinging at the hips and keeping them square, with the rear leg coming along for the ride. It’s best to keep a soft standing knee (protect your joints!), both for form and balance, and only go as far into the hinge as you can control and keep your rear leg in the alignment with your hips, shoulders, and head. Squeeze the glute of your standing leg to bring yourself back to stand. Once you have the basic form down, load it with a dumbbell or kettlebell opposite the working leg (especially if you find that your hips tend to twist), on the same side for a core challenge to prevent the hips from twisting, or with a barbell or dumbbell in both hands to work on unilateral strength. A couple of sets will set you up nicely for a heavier deadlift workout.
7. Bird Dog
Why you should do it: While planks train the core muscles for synergy in a still position, birddogs and planks with limb lifts train them to stabilize when movement comes into play. That’s one of the core’s main functions—to distribute force in the extremities.
How to do a bird dog: For birddogs, come to all fours, hands under shoulders, knees under hip joints. Extend opposite hand and foot straight out from the body, keeping shoulders and hips square to the floor (no twisting) and firmly reaching fingertips forward (hand like a karate chop) and foot back (toes firmly flexed). You want to feel the core, back, and glute muscles really squeeze. Hold for a beat and the bring the limbs in, elbow toward knee, and do 15 to 20 reps before switching sides.
For the harder plank version, start in a forearm plank. Simultaneously lift one arm and the opposite leg so they’re straight out and parallel to the floor, again taking care not to allow the hips or shoulders to drop or the torso to twist. Replace hand and foot and do with the other side. Integrate both exercises into your core workout, or do them as an “active recovery” between HITT bouts.
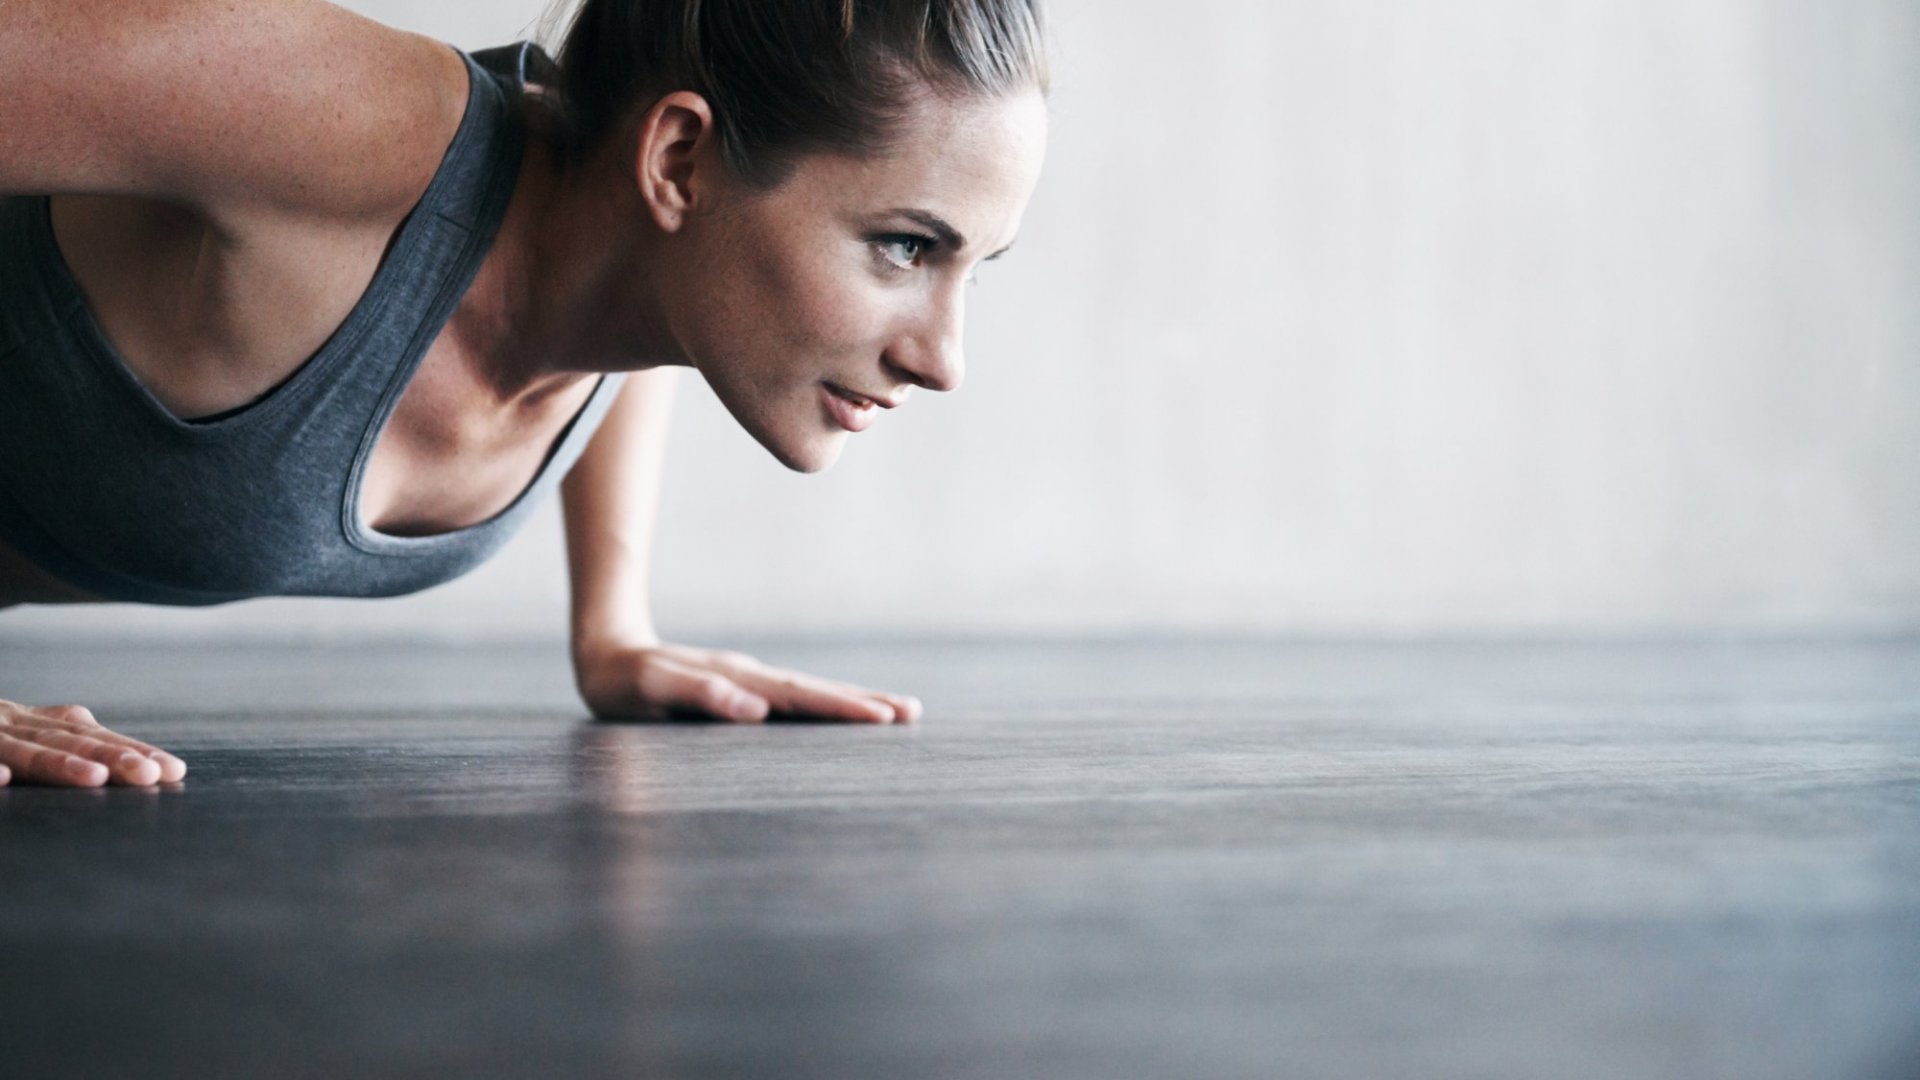
8. Chest-to-Floor Pushup
Why you should do it: To paraphrase everyone’s favorite cynical TV doctor: Everybody cheats—at least when it comes to pushups, especially when going for reps. The depth gets shallower and shallower, the elbows start to flare. So by doing sets of chest-to-ground pushups, you work the muscles in their full range of motion—and stop being a cheater. (Sometimes people will call these “hand release” pushups, because you should lift your hands off the ground when you get to the bottom.)
How to do a chest-to-floor pushup: Start in good top-of-pushup (aka plank) form, hands slightly wider than shoulders, glutes squeezed. Lower yourself all the way to the floor, making sure your elbows track backward to form an A frame with your head, not winged way out to the side. If you pitch yourself slightly forward on your toes, you’ll get it. Let your chest lightly touch the ground, then press back up, keeping the core and glutes engaged the whole time. Replace your set of 20 “regular” pushups with 10 to 15 of these, and you’ll realize what you were missing.
9. Lateral Raise
Why you should do it: Lateral raises are a go-to for targeting the middle delts. Unfortunately, they may also put your rotator cuffs at risk. To keep those joints, muscles, and tendons safe, opt for scaption, a slightly different angle (literally) on the exercise.
How to do a lateral raise: Hold a dumbbell in each hand at your sides. With a soft bend in the knees, engage through the abs (bellybutton to spine) and raise the weights out to your sides at an angle slightly closer together than 180 degrees, so that you can see the weights fully in your peripheral vision. Maintain a neutral thumbs-up grip (also safer for the rotator cuffs) and only raise so your arms are parallel to the ground.
10. Cable/Band Internal and External Rotation
Why you should do it: Rotator cuffs are tricky. They’re essential for shoulder stability but somewhat delicate as far as muscle groups go. Incorporating internal and external rotation exercises can help to strengthen and stabilize them, and using a cable or band provides resistance through the full range of motion, not just against gravity (as with dumbbells).
How to do band internal/external rotation: Rig up a band or the cable with light tension/weight at solar-plexus height. Have a folded hand towel handy to pin between your elbow and side. Stand sideways relative to the band/cable.
For external rotation, hold the handle with your far hand, elbow bent to 90, so that the handle starts across your body; rotate your hand, with elbow still bent, away from you as far as you can.
For internal rotation, hold the handle with your closer hand jutting away from your body with elbow bent and rotate your arm in toward your navel. Do 10-20 reps in each direction on each side as a warmup to your shoulder workout. On both variations, keep your elbow and wrist joints aligned—elbow glued to your side.
11. Walking Lunge
Why you should do it: So many lower-body lifts keep your feet firmly planted on the floor. That’s cool for challenging muscular strength, but it’s not really how the body functions in real life—we travel through space when we move. Walking lunges challenge both your strength (when loaded with heavy weights) and functional ability.
How to do a walking lunge: Before you grab heavy dumbbells, do a few practice runs. Start with feet hip-width apart. Step forward into a lunge, bending both knees to 90 degrees and leaning the torso forward slightly so your weight in in the front foot. Push that foot into the ground to pull your body forward. Bring your rear foot either to meet the front (helpful to regain balance), or immediately forward into a lunge. Travel at least 10 paces down the floor. When you add weight, be sure to keep the torso leaned but not collapsed over the front leg. Use it as a warmup or an additional exercise to a lower-body day.
12. 45-Degree Incline Row
Why you should do it: The rear delts are often under-addressed—mainly because they are harder to target—which can create muscle imbalances from front to back. This row specifically was found to be the best for stimulating muscle activity in the rear delts in an American Council on Exercise study, so you know it’s gotta be good.
How to a 45-degree incline row: Angle a bench at 45 degrees and grab some dumbbells. Straddle the seat so your chest is against the bench. Hang the dumbbells down and row them back wide, keeping your elbows out at 90 degrees from your body. Squeeze your shoulder blades at the top before lowering with control. Start your shoulder workout with sets of these before moving to the middle delts and front delts, which tend to be the strongest.
13. Y-T-A
Why you should do it: This deceptively simple-but-not warmup sequence activates and integrates the upper back muscles for better posture and improved mobility in upper-body lifts, so you can move heavier loads with greater ease. In other words, do these regularly and your bench, military presses, and bent-over rows will rock, and your improved posture will show off all your hard work.
How-to: Lie facedown on a mat, or kick up the core work and lie atop a BOSU or a stability ball. Reach your arms overhead in a Y shape. Squeeze the glutes and engage the shoulders to raise your chest up as far as you can. Lower down and slide your arms out to a T position to repeat, then to an A position. Do a couple sets of 10 reps of the sequence before you hit your shoulder or back workout.
14. Straight-Arm Cable Pressdown (Cable Pullover)
Why you should do it: Crunches definitely work the six-pack muscles. They also encourage a forward-body-curved posture, and can wreak havoc on the lower back joints and musculature. Instead, you should do cable pressdowns: They fire up the rectus abdominus muscle as well as the lats, while keeping your lower back in happy alignment.
How to do a straight-arm cable pressdown: Put a moderate weight on the cable stack and attach a bar handle raised overhead. Facing the cable with arms fully extended, pull in through your belly button and press the handle down straight in front of you, all the way to the tops of your thighs. Important: Do not curve forward—if the weight is too heavy and you have to put your shoulders into it, you’re not doing it right. Once the handle is at your thighs, slowly—to at least the count of 5—control its return to the top with your abs, taking care not to let the weight stack slam. Add this, in sets of 10, to your core circuit in place of crunches or situps.
15. Single-Arm Cable Lat Pulldown
Why you should do it: When you use a cable cross machine to split the load of a lat pulldown with two separate handle attached to their own weight stacks, you can’t cheat by letting the stronger side do more of the pulling. Plus, the bar of a traditional lat pulldown offers stability—the handles have way less, so the core works harder.
How to do a single-arm cable lat pulldown: Raise the cable handles all the way to the top. Kneel and sit your butt back on your heels or sit on a low box or a bosu between the handles—just be sure your arms can come to full extension overhead without letting the weight stacks rest. As you pull the handles down, elbows toward sides, think about pulling with your armpits to better engage the lats, and raising your sternum to the sky. Replace your usual lat pulldowns with sets of these, but go a little lighter than half your usual weight on each stack—you’ll be surprised how much tougher it is, especially if you’ve been using any leverage from those kneepads when you’re seated on the machine.
16. Weighted Jefferson Curl
Why you should do it: This has nothing to do with your biceps. Basically a weighted forward fold, this is an excellent way to gently ease out your entire back and hamstrings and improve both mobility and flexibility—and maybe even train yourself to touch your toes!
How to do a Jefferson curl: Grab a light barbell or body bar (no need to go heavier than an unloaded 45-pounder). Stand on a low box holding the weight in front of your thighs. Very slowly round your back vertebrae by vertebrae until you are in a full relaxed forward bend, letting the weight just hang. As a warmup for a deadlift workout, roll up slowly after just a beat and continue to go up and down for 10 reps. As a cooldown stretch, hang out at the bottom for up to 30 seconds
17. Thoracic Mobility
Why you should do it: A tight mid-back can be a limiting factor in how much weight you can push and pull. It can also affect posture—and no one likes the hunchback look.
How to do thoracic mobility: Come to all fours on a mat. Place one hand behind your head. Rotate the bent elbow toward the crease of the straight arm, then rotate it up toward the ceiling, opening up your chest as much as you can. Rotate back down. As part of your warmup, do 15 to 20 reps before switching sides, for two to three sets back to back.
18. Half-Kneeling Hip Flexor Stretch
Why you should do it: The hip flexors get tight from sitting too much. Lunging opens them back up. Tightness can lead to tweaked-ness if you’re not careful—or if you’re just unlucky.
How to do a half-kneeling hip flexor stretch: Add this to your cooldown stretches. Kneel on a mat. Step one foot forward, knee bent, extending the back leg behind you. If your front knee is bent past 90 degrees, widen your legs until it’s not. (Remember, you want your joints aligned to balance pressure.) Square off your hips—imagine there are headlights attached to each hip point—and press them forward until you feel a good stretch across the front of the back leg. Add an overhead reach with the arms to intensify. Hold for 30 seconds; yes, it will feel like an eternity the first few times. Switch sides.
19. Figure-4 Stretch
Why you should do it: When the deep external rotators in your hip joints get tight (it happens from, yup, sitting too much), the sciatic nerve can get irritated—and sciatica is no one’s idea of fun. Plus, this stretch feels good in a weird sorta way.
How to do a figure-4 stretch: Lie on your back on the mat. Cross one ankle over the opposite knee. Thread one hand through your legs and the other around the other side to grasp the bottom leg; use a hand towel or strap wrapped under the thigh if you can’t comfortably hold there. You’ll feel the stretch in the glute of the leg that’s bent to the side. Hold for 30 seconds, then switch. Make it part of your cooldown.
20. Foam Rolling
Why you should do it: Rolling your muscles atop a foam cylinder (or using a tennis ball, or lax ball, or PVC pipe, or whatever you like to use to hammer your muscles)—particularly the glutes, hams, calves, and midback—is the poor man’s massage to release knots and improve flexibility. And supple muscles are far less prone to pulls and tears.
How to foam roll: It’s easiest to take a top-down or bottom-up approach. That means starting with your calves, then your hams, then your glutes, then your mid-back (or the reverse), and adding in any other muscles you’d like to massage. The two things to consider are technique and gravity. First, you can either roll over a larger area to ease out the length of the muscles, or, when you find a knot or tight spot, hold on top of it or do short back-and-forth motions until it melts aways (e.g., the pain subsides). Gravity refers to how much of your body weight you put on top of the roller: The closer on the floor your supporting hand/foot/other body part is to the roller, the less intense the pressure (and vice versa). Roll each spot for at least 30 seconds, and do your routine at the end of every workout. When your muscles are pliable and functioning properly, they put less strain on your joints.


